Incorporating the AddThis library to set up social media sharing with Galaxie Blog
|
Apr 29 |

- To set up your own social media share buttons for your own site using your own account, go to the addThis.com website, and set up a new account.
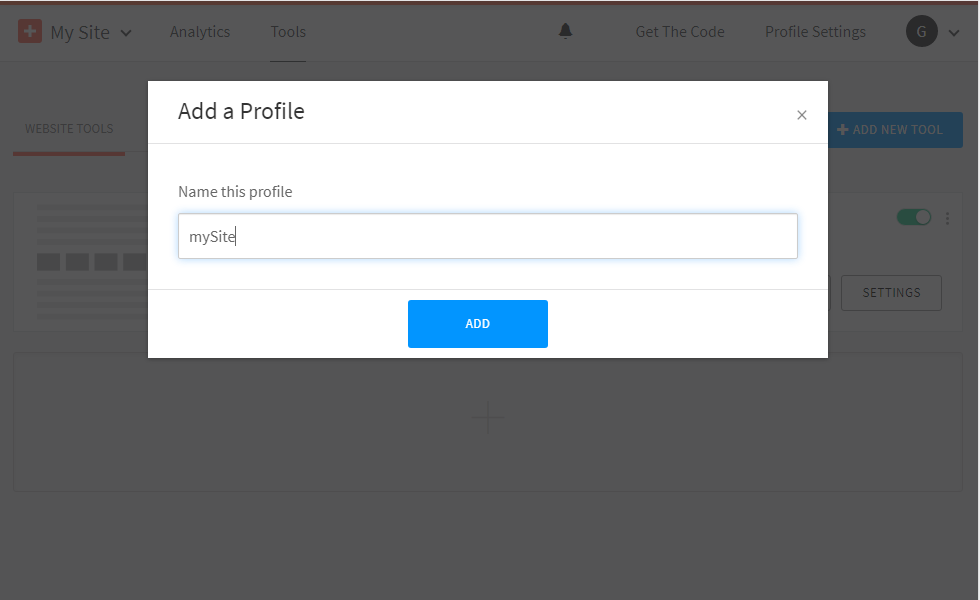

- After creating your new AddThis account, you should see a tools option on the AddThis website.
- Click on add a new tool

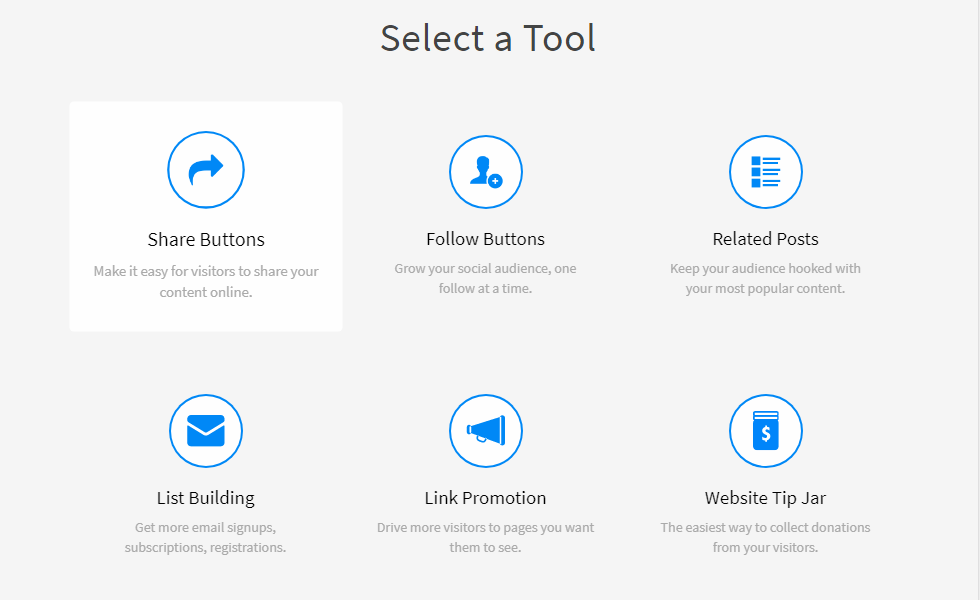
- Select the share buttons icon- it should be the first icon in the list. Once you have selected the inline tool, click on the continue near the bottom of the page.
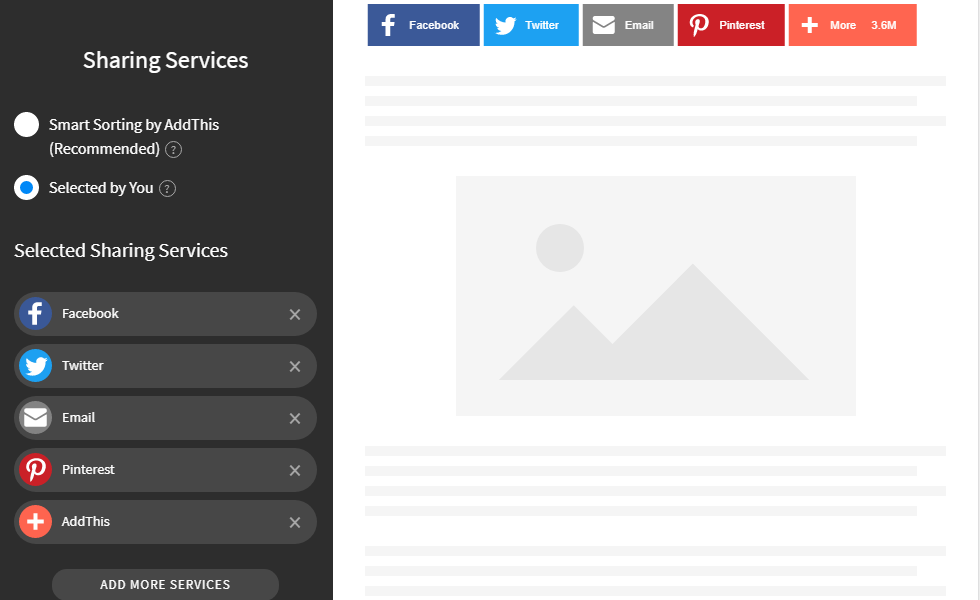
- You should see a new sharing services interface.
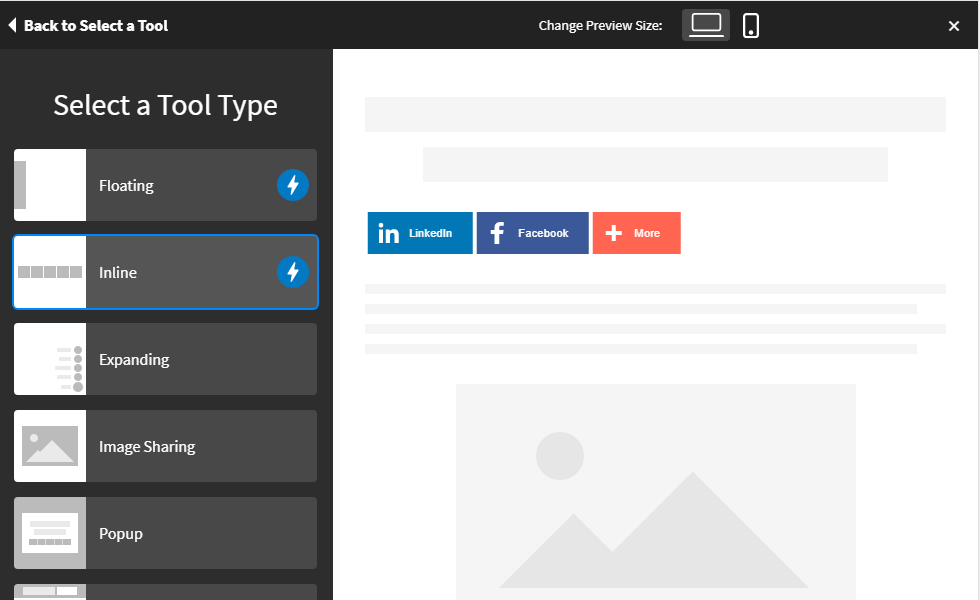
- Select inline for the tool type and click continue
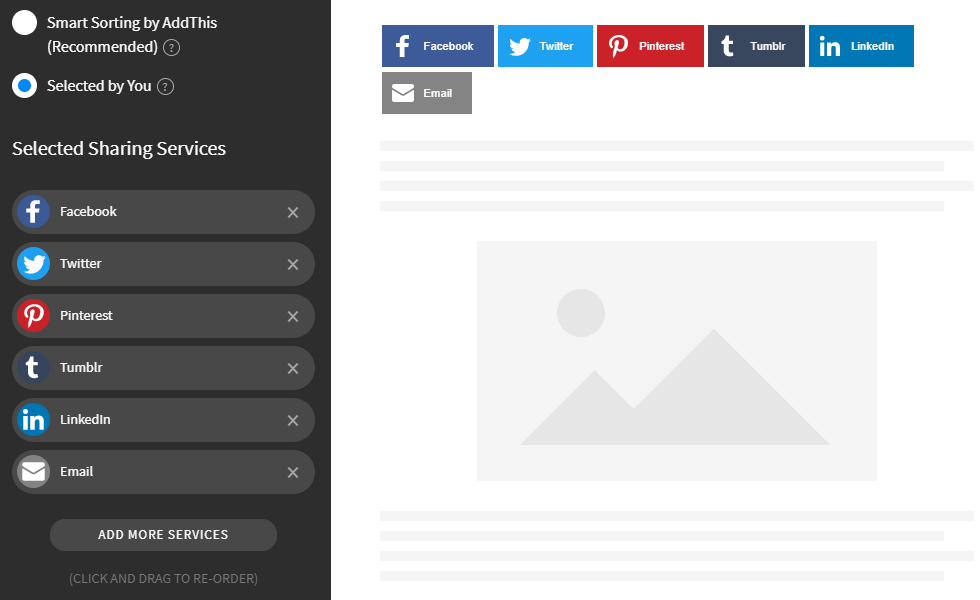
- In the sharing services interface, click on the selected by you radio option.
- Choose the social media sites that you want t to share to, it's recommended to at least have Facebook and Twitter.
- You can sort the selected social media buttons by dragging and dropping the icons underneath Selected Sharing Services.
- After selecting your preferred social media sites, click on the design icon if you want to change the appearance of the buttons.
- Once you're satisfied with the look and feel of the buttons, click on the activate tool button.
- You should now see a button labeled Get the code.
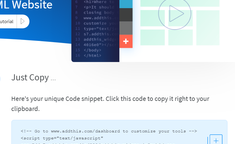

- Click on it, the code should be similar to the code below:
<!-- Go to www.addthis.com/dashboard to customize your tools -->
	<script type="text/javascript" src="//s7.addthis.com/js/300/addthis_widget.js#pubid=ra-1234"></script >
- Copy the string after the 'pubid=' In the example above our API key would be ra-1234
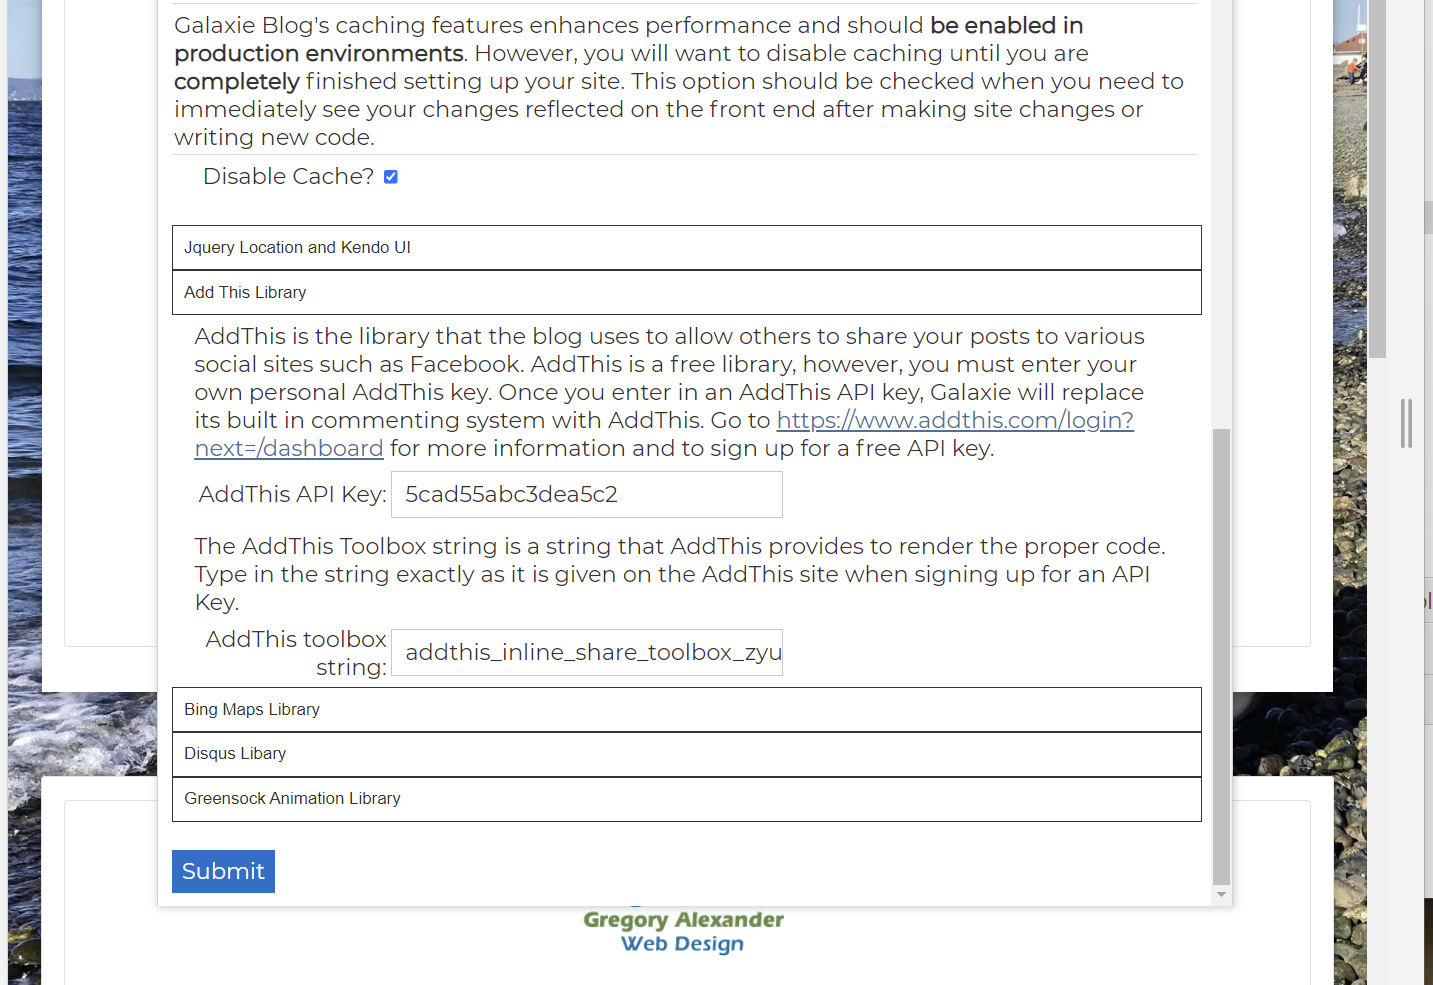
- Finally, we need to get the Add This Toolbox string. The string that we want to find is 'addthis_inline_share_toolbox', but this string can be anything. It is found on the same page as the code above and looks like so:
<!-- Go to www.addthis.com/dashboard to customize your tools -->
<div class="addthis_inline_share_toolbox"></div>
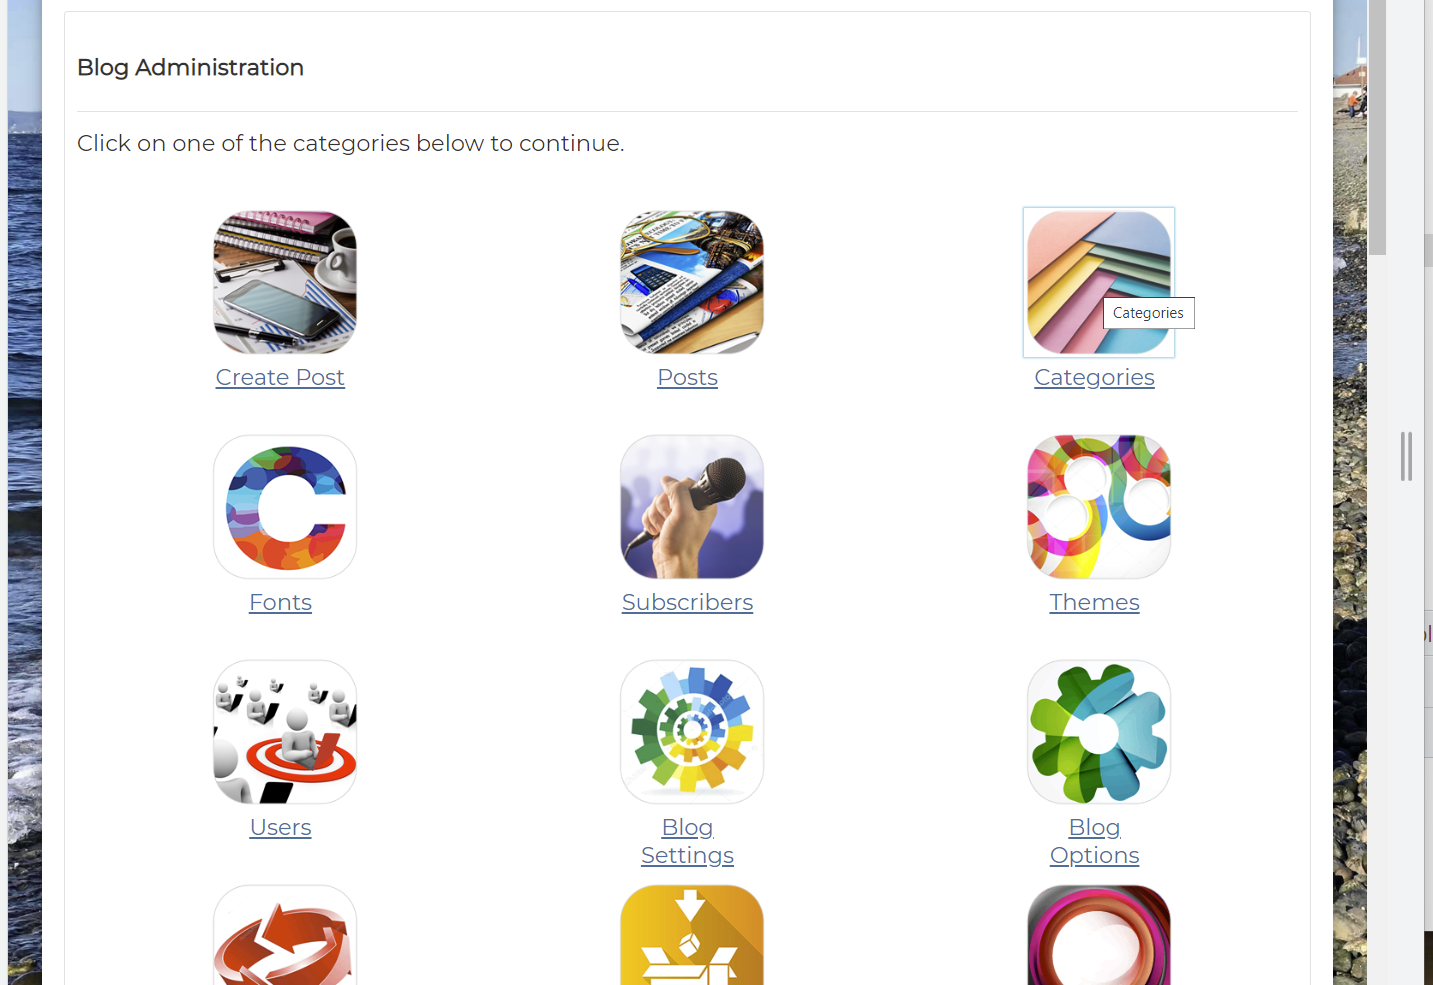
- Enter both the API Key and the toolbox strings in the 'Add This Social Integration' section in the settings interface in the administrative section of the site (typically found in using the '/blogCfc/client/admin/' URL), click on the 'save settings' button, and you should be good to go.
Notes: rewritten for Galaxie Blog 3. The content and galleries on this page were generated using the WYSIWYG Galaxie Blog post editor.
Related Entries
|
|
|
|
Hi, my name is Gregory! I have several degrees in computer graphics and multimedia authoring, and I have been developing enterprise web applications for the last 25 years. I love web technologies and the outdoors and am passionate about giving back to the community. |
|
This entry was posted on April 29, 2022 at 2:37 PM and has received 1903 views.